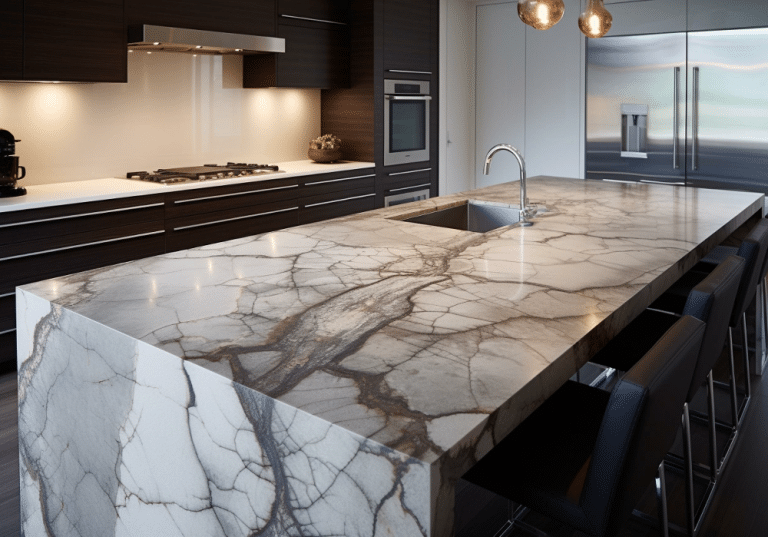
If you are looking to create an especially modern aesthetic in your kitchen or bath, consider an undermount sink to go along with your new granite, marble, or quartz countertop. Stone countertops and undermount sinks go together like baseball and hot dogs. In fact, the stone countertops/undermount sink combination is one of the hottest trends in Utah kitchen and bath design right now.
We will not go through a step-by-step guide explaining how our craftsman install stone countertops and undermount sinks. However, we thought it might be nice to give you the basics, just so you will know that you can rely on a professional installation done right. Undermount sinks are just as reliable and durable as top-mounted sinks.
It Starts with Your Choice of Sink
Believe it or not, how an undermount sink is installed begins with your actual sink choice. You choose the amount of sink you want revealed in relation to the edge of the countertop. Here are your three choices:
- Zero Reveal – The inside edge of the sink is flush with the outside edge of the countertop. You do not see any part of the top surface of the sink.
- Positive Reveal – The inside edge of the sink has slightly smaller dimensions then the hole cut into the countertop. You see a little bit of the sink’s top surface all the way around the perimeter.
- Negative Reveal – The inside edge of the sink has slightly larger dimensions than the hole cut into the countertop. This creates a slight overhang of the countertop over the sink edge.
From a functional standpoint, the reveal option makes little difference. It is really an aesthetic choice for most people.
Preparing the Countertop
Before an undermount sink can be installed, the countertop needs to be prepared. The craftsman will cut notches in the underside of the countertop with the special saw. The notches are designed to accept sink clips that will eventually secure the sink itself.
The hole also might need to be enlarged slightly to accommodate the sink. If this is the case, surface preparation is usually done outside, just to make it easier. It doesn’t have to be done outside, though. Surface preparation can be handled in place when a marble, granite, or quartz countertops is already installed.
Installing the Sink
The final step is installing the sink and connecting the plumbing. A bead of clear silicone is run around the entire top surface of the sink. The sink is then lifted and secured in place using two-by-fours and clamps. It is positioned equidistant from all edges before clamps are tightened down.
An appropriate amount of time is allowed for the silicone to dry. Next, the sink clips are inserted and held in place with construction adhesive. Once again, sufficient drying time is allowed. Once the adhesive dries, clips are attached to the sink and tightened down with wing nuts. All that’s left is to connect the plumbing.
Professional Installation Is Best
Installing an undermount sink with a stone countertop is not difficult in principle. However, working with granite, marble, and quartz requires quite a bit of skill. That’s why we recommend professional installation. Letting someone who knows how to do the job right guarantees a better finished product.
Remember that Bedrock Quartz installs everything we sell. We take the hassle out of kitchen and bath countertops with our combination of fantastic products, superior craftsmanship, professional installation, and the best customer service in Utah. We would appreciate the opportunity to help you create your new kitchen or bath with a stone countertop.