Have you seen those home improvement TV shows? The ones in which every new project begins with slamming a sledgehammer through a wall? The sledgehammer makes for great TV. However, it is not a tool you will see pros use that often. You certainly don’t need one to remove old countertops to prepare for installing stone replacements.
If you were planning to install new stone countertops yourself, which we wouldn’t advise by the way, you could leave the sledgehammer in the garage. You wouldn’t need it. Removing old countertops isn’t as easy as making a sandwich, but it’s also not extremely difficult. Old countertops can be removed and cabinetry reinforced without the kind of heavy destruction a complete gutting and remodeling requires.
Preparing for Removal
In so many cases, preparation determines how easy it is to remove old countertops. We generally recommend not only clearing countertops of any objects, but also emptying the cabinets underneath. A completely clean and object-free workspace is an easier workspace to deal with.
Preparation also includes:
- Shutting off water supply lines
- Disconnecting the plumbing
- Shutting off power to local outlets
- Relocating appliances (if necessary)
The key to preparation is understanding that you don’t want anything in your way during demolition. You also don’t want unexpected surprises from electrical and plumbing. That’s why you shut off and disconnect.
Removing the Old Countertops
Once the preparation is complete, it’s time to remove the old countertops. Avoid the temptation to be destructive. Here’s why: destroying old countertops while they are still in place also means risking the cabinets underneath and the wall space behind. You are keeping those cabinets and walls, so why risk damaging them?
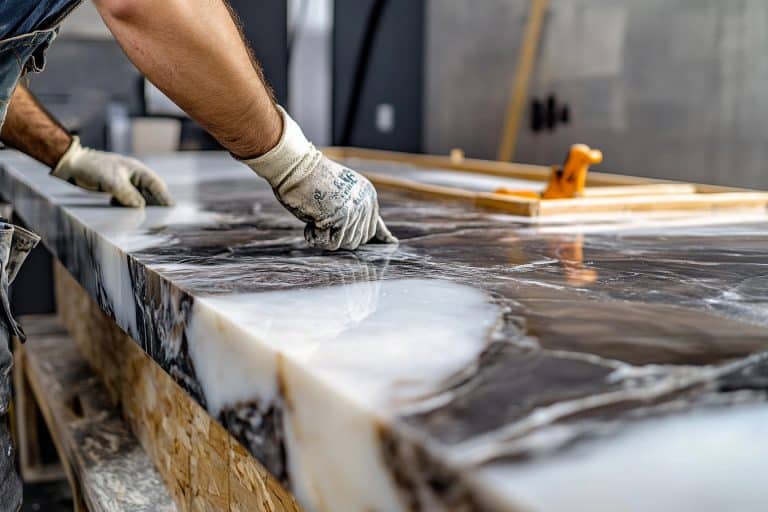
It is better to utilize a slow, methodical process of disassembling the old countertops rather than just ripping them out. The first step is usually to remove the backsplash. A utility knife will easily cut through the caulk. Then you can gently pry the backsplash away from the wall.
Next, locate all the fasteners that secure the countertops to the cabinets and walls. Remove the screws and fasteners completely. At this point, you should notice that the countertops are somewhat loose. However, don’t try to break them free from the cabinets if they don’t easily lift up. Instead, look for adhesive between the countertops and cabinets.
A utility or putty knife should make quick work of the adhesive. Only after you have broken the bond between countertop and adhesive is it safe to lift the old countertops and take them away.
Inspect and Prep the Cabinets
The final step is to inspect and prepare the cabinets for your new countertops. This is a critically important step if you are installing stone or engineered quartz. Both types of countertops are quite a bit heavier than wood and laminates. Your cabinets need to be up to the task.
Inspect the cabinets for any damage you may have caused during removal. Repair or reinforce them as necessary. Next, it’s critical to ensure that the cabinets are level in order to properly support heavier stone and quartz. Finally, anchor the cabinets firmly to floors and walls so they provide proper support. You’re now ready to install your new stone countertops before reconnecting the plumbing and turning the power back on.
Granted, we have offered only a summarized description of removing old countertops and prepping for stone replacements. Hopefully, you get the idea. Whatever you do, don’t demolish your old countertops in place. If you feel like reducing them to toothpicks, that’s fine. Just do it after you have removed them from the kitchen.